
Air-Dry Clay for Beginners: tips and techniques to try when learning to work with air dry clay
Air-dry clay is a versatile material that is great for sculpting, decorating and experimenting. It can be pinched, scored and welded to create forms that can then be painted and decorated once it is completely dry. Unlike traditional clays, it doesn’t need to be heated to harden and yet it can still produce quality pieces.
If you think you might like to give air-dry clay a go for your next art project, Room for Art artist, James Chincharo, has shared some top tips and basic techniques to try when working with the medium. You’ll also find a recipe to make your own homemade air-dry clay at the bottom of this blog post!
Soften the Clay
Air-dry clay can be quite tough to work with and anyone experiencing difficulties with their hands may want to soften the material to make it more manageable. Making a series of cuts across a small block of clay before submerging it into the water for a few minutes will encourage the clay to absorb the water more quickly. You can then work the clay together to mix the water through and repeat the process until you are happy and able to work with the material more easily. Just make sure to keep checking every 2-5 minutes to ensure the clay doesn’t become overly soft and disintegrate.
Experiment with Coloured Clay
Rather than adding colour to the clay at a later stage, it is also possible to colour the air-drying clay itself. This can create exciting opportunities to explore new surfaces and colour interactions. You might want to try making large circles of colour; twisting different colours together; creating lots of small dots of coloured clay; joining coloured pieces together to create a composite, or even weaving with the clay.
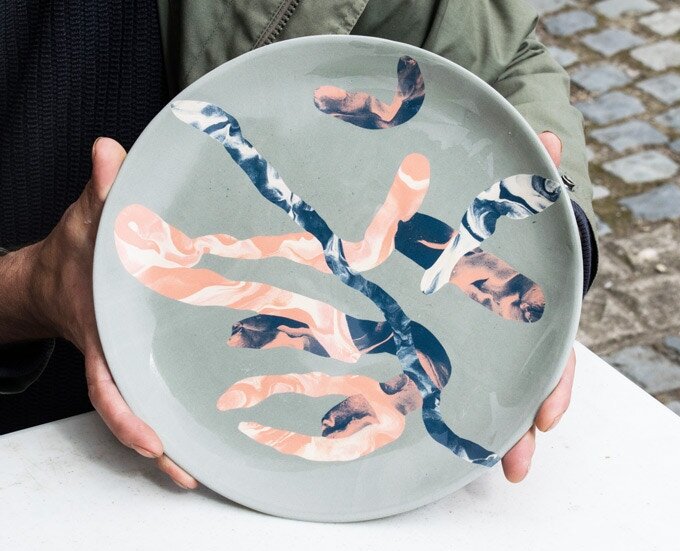
To colour your clay, take a small piece of clay and squeeze it into a disc. Add a small blob of water-based paint and spread it all over the surface. You can add a little water at this stage to help with this if it is required. From here, tear the clay in half and lay the two pieces on top of each other. Then repeat this one more time so that you end up with four layers of painted clay. Squeeze the layers together, working the paint through the clay. When it no longer feels wet, you can add more paint and repeat the process until you reach the colour you are looking for. Now your coloured clay is ready to be taken in any creative direction you like!
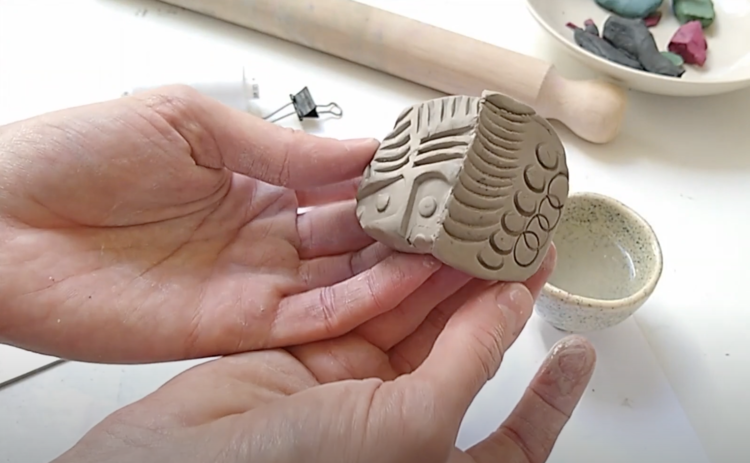
Create Surface Impressions
Air-drying clay is also great for experimenting with texture, mark-making and surface pattern. There are many different ways to apply surface impressions on the clay that will make for really interesting pieces. You might have stencils or stamps at home, but it is also possible to create different impressions using everyday objects -like paper clips, a kitchen fork or fabrics- and natural materials such as leaves, flowers or the bark of a tree.
Air-drying clay can be joined together to create 3D forms and sculptures too. In order to weld pieces of clay together, brush both sides of the joint with water and scratch in some small lines. When the pieces are in place, you can lay a small amount of clay along the back of the join and smooth it out to strengthen it even more. Here is a tutorial video by James Chinharo, a great artist who works with ceramics and more.
25 January 2023 by
Ursula Bevan Hunter