
Wet felting is a lovely, textural process that allows for the creation of a completely unique piece of fabric from thin layers of raw wool. Unlike weaving, knitting or needle felting, the technique is organic and unpredictable. There is no real way to control how the fibres will interlock, encouraging us to lean into experimentation and enjoy the playfulness of the process.
In this blog post, artist Sally Price shares some tips and techniques for getting started with wet felting. It is a wonderful activity to relax and get lost in; for letting go of some of the stress in your head and maybe even releasing some of the tension in your body. Let us know in the comments below if you give it a go!
You will need:
- A towel on your work surface to catch all the water
- Raw wool, also known as wool roving
- Two pieces of bubble wrap to create a bumpy surface for friction to occur
- A bowl of warm or hot soapy water to help the wool shrink and knit together
To get started, lay out your towel on top of your work surface and place a piece of bubble wrap down – bubble side up.
Taking your first colour of wool, separate off a little piece. To do this, pull the fibres gently from the top of your length of wool. If you find the wool is resisting you, it might be that you are trying to take too much or that you need to pull more gently. You are also looking for quite a thin layer so that the felt can come together more easily and you can build up your piece. This might mean having to tease out the fibres until they are a little bit more see-through.
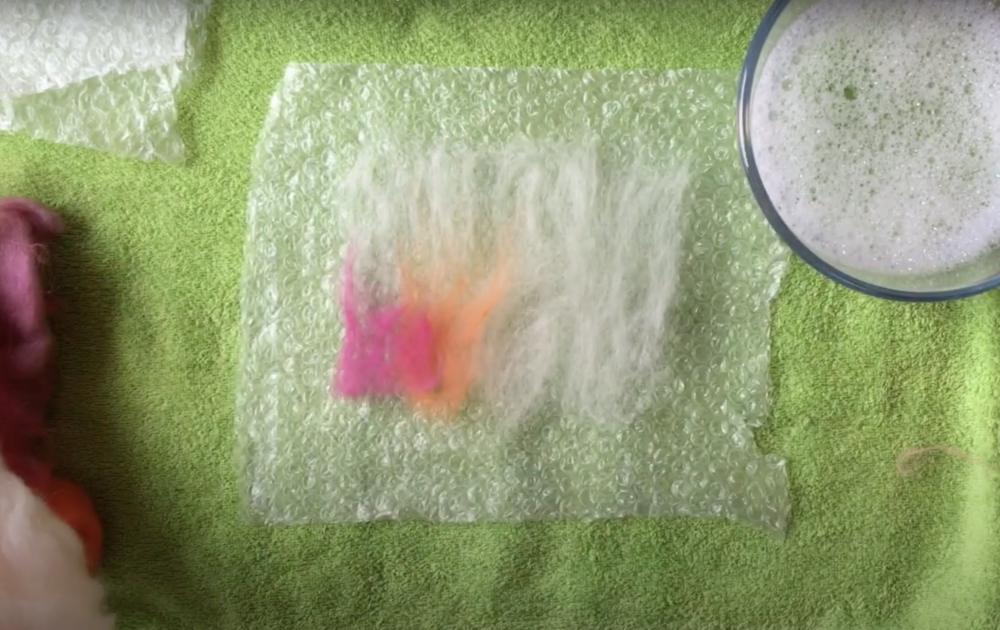
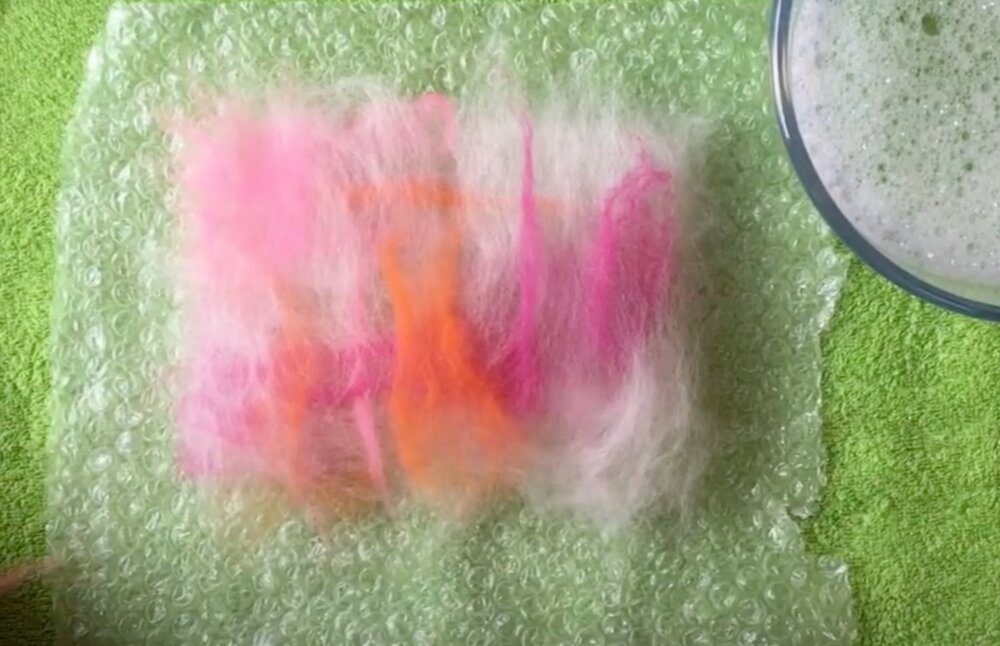
Now you can start to lay the wool onto the bubble wrap. For the first layer, you want all the fibres to run in the same direction. It doesn’t have to all be one colour and you can start to mix in flashes of different colours whenever you like.
You might find that there is a little bit of trial and error to get the effect you want. Try not to worry too much about the end result – instead, focus on the softness of the wool, the colour of the felt and letting yourself be playful or intuitive.
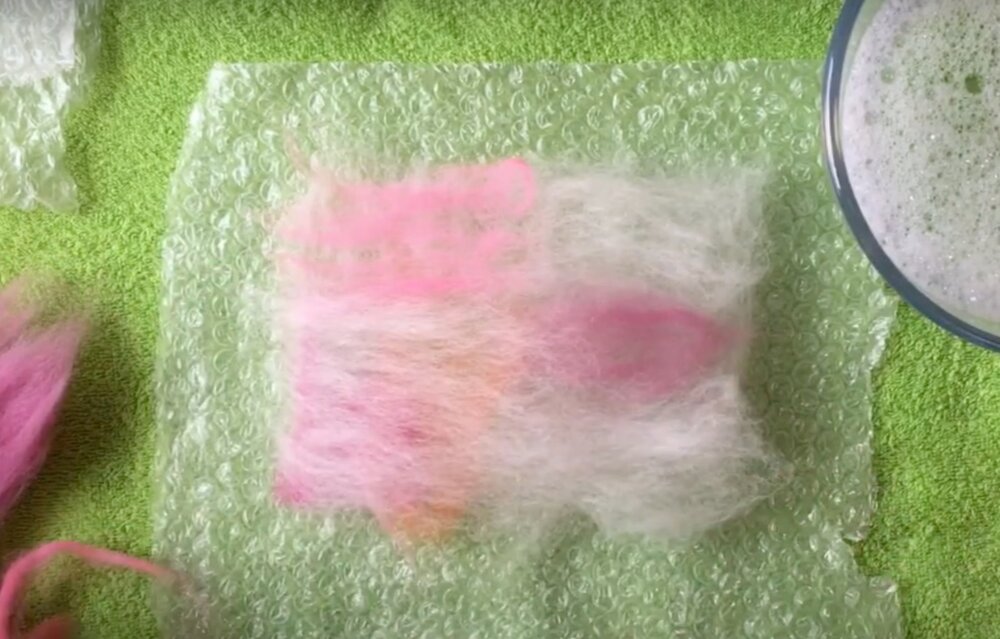
For your next layer, your fibres should run perpendicular to the first. This helps to add a little bit of difference to the textures so that when they come to be felted together, they can lock in even more.
Then continue building up your layers of colour in this way. The more layers you have, the more time-consuming the felting process will be and the thicker your final piece of fabric will end up. For your first piece, somewhere between three and six layers could be a good starting point
Pat down your piece and now you’re ready to apply your soapy water! Pick up the water and sprinkle it over your piece, making sure all of the wool is wet. Carefully press down with your fingers to spread out the water and you will start to notice bubbles appearing. If you don’t see the suds when you start to felt your piece, you can always add a few extra drops of washing up liquid directly on top.
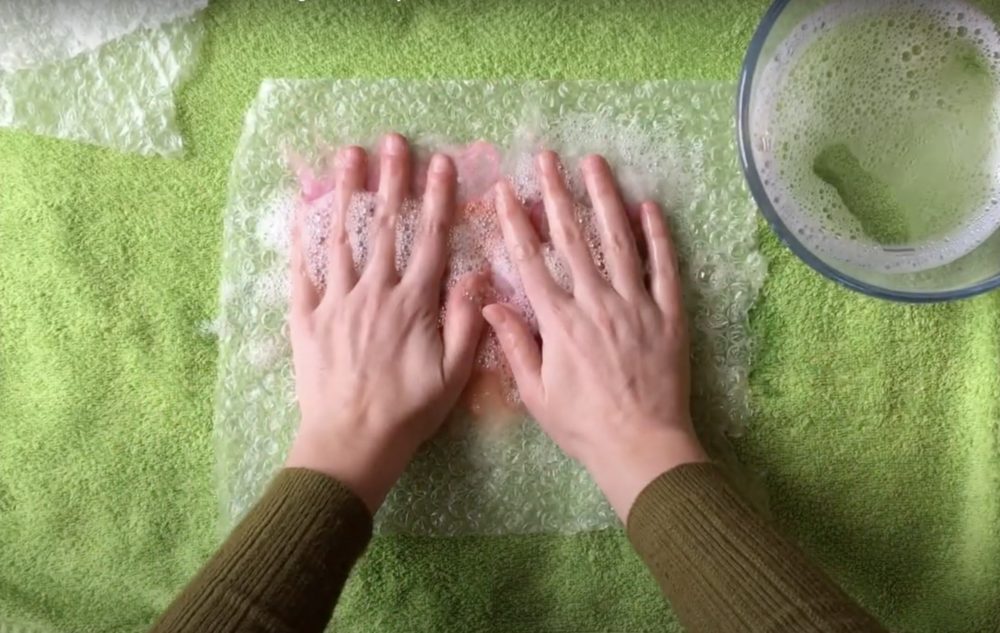
Once the wool is saturated, pop your second piece of bubble wrap on top (bubbles downwards) and make sure your work is completely encased inside. Gently agitated the whole thing, using wiggling motions until you start to see suds.
Then, flatten it all down and roll it up into a tube. You might like to tie elastic bands around the ends to keep it in place. Roll it back and forth (making sure to rub in the middle and not just the end) for five minutes or so depending on the size of your felted piece. Be mindful that the water will squirt out the edges but if bubbles are being made, then there is friction and the felting is happening!
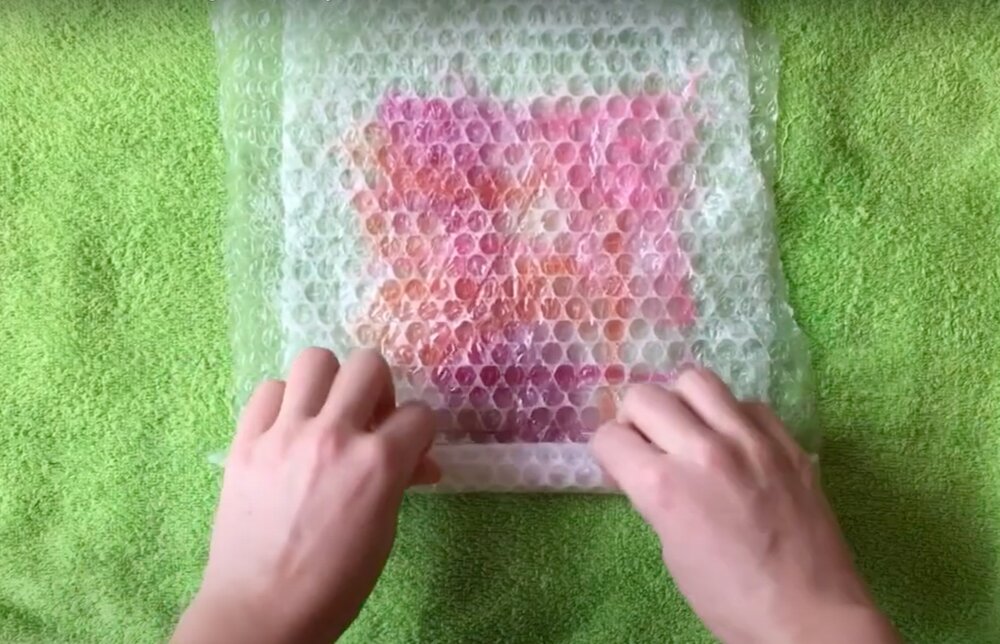
You will want to occasionally unroll and re-roll again to check your progress. The fabric will begin to shrink, becoming smaller and denser and you will start to see edges appearing. You may see some fibres coming off the edges or a funny colour forming but you can always add a splash of water on top of it and intentionally felt straight on top with circular motions.
You will know that you’re piece is nicely felted together if you can pinch a bit of the fibre and they are difficult to pick up. The fabric should feel pretty sturdy too.

When it is ready to go, rinse your piece in hot water to tighten it up even more. Then, at the end, always rinse it in cold water to set everything. Let it dry and you will end up with a piece of fabric that is really soft, gently and versatile.
You might like to keep the raw edges and embrace the irregular shapes, or you can cut them for a neater finish. You could sew on top, build your own soft sculpture or display them as artworks in their own right!

If you’d prefer to watch a video rather than read about the basics of Wet Felting, Sally has also demonstrated this technique over on our YouTube channel.
25 January 2023 by
Ursula Bevan Hunter